We will setup your vtu & utility portal in jiffy

You need to know how it works? Kindly check details below.
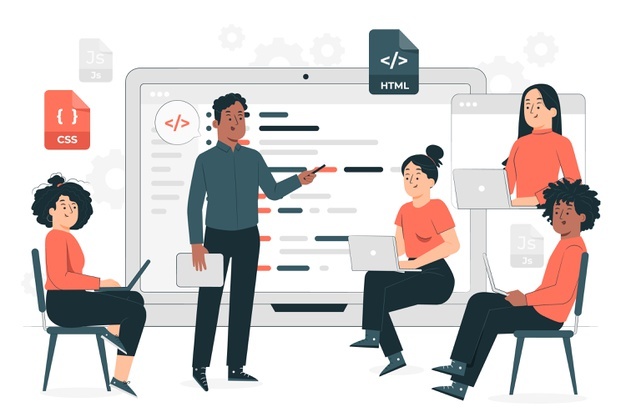
Are you a developer willing to contribute to firstdevlab development?
With plugins you can extend the functionalities of Firstdevlab AI engine


Do you know that with Firstdevlab AI engine, you can setup your website without domain or web server?
Though our AI is only available for VTU and utility business, using our Engine you can have your utility bills web portal running for free. You only need to apply for us to get it ready for you.

You can buy your data subscription, airtime subscription, and also cable using our reliable platform.
In fact, you can connect to us through our easy and secured API.
Pay Bills Now
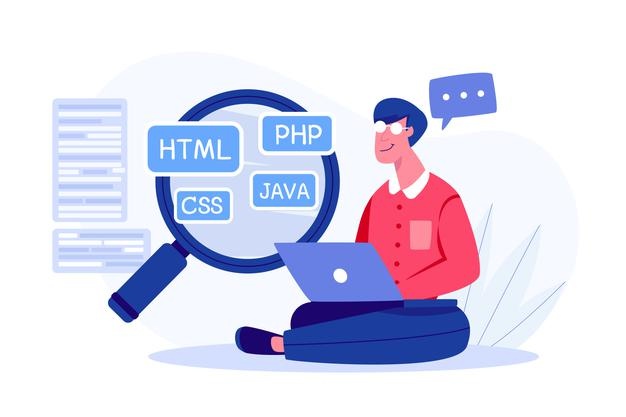
Are you interested to become our future developer? We teach people web design for free.
To join our online class, you need to follow us on Instagram @firstdevlab_official and send us message to enroll for the free programme.
Learn More